Getting started
Blockly for senseBox can be found online at https://blockly.senseBox.de. There you can choose between the different versions of senseBox.
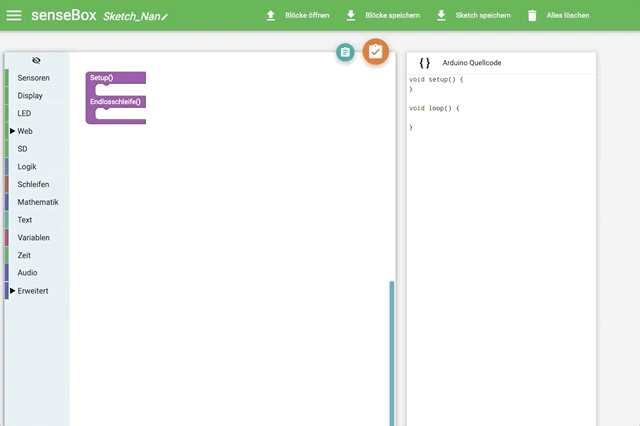
Programming
In a simple program, the internal LED located next to the red reset button is switched on. The block for switching on the LED can be found in the toolbox under LED.
After programming, the program code must be transferred to the senseBox MCU. Connect the senseBox MCU with the USB cable to your computer.
Transfer to senseBox MCU
Connect your senseBox MCU to your computer and double-click on the red button to recognize it as a removable data carrier. With a click on Compile Code in the web interface, your program code will be compiled on the server and a .BIN file will be offered to you for download. Depending on which operating system you are using, the copy process will differ.
Copy with Windows
On Windows you can simply copy the created .BIN file to the removable disk SENSEBOX by drag & drop. The red LED on the button will flicker briefly and then the board will restart automatically and execute your program code.
Copy with MacOS
Copying the .BIN via Drag & Drop does not work under MacOS at the moment. One possibility is to copy the file in the terminal via dd command (only recommended for experienced users!) or to use an alternative file manager such as muCommander.
Copy with Linux
With Linux you can simply copy the created .BIN file to the removable disk SENSEBOX by drag & drop. The red LED on the button will flicker briefly and then the board will restart automatically and execute your program code.