Step 1: Software Installation
Installation of Arduino IDE
Before the senseBox can be activated, you need to install drivers and software on your computer. It is also advisable to carry out a test run before commissioning the senseBox, to check whether the sensors are working correctly and that an internet connection has been established.
Review the instructions for your operating system and follow the steps given.
Download Arduino Software for Windows
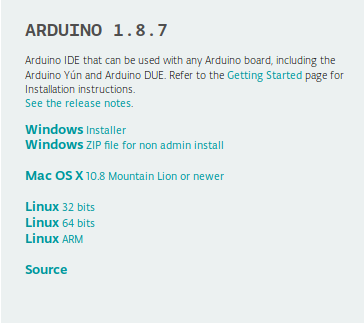
For a smooth process please use Arduino 1.8.7.
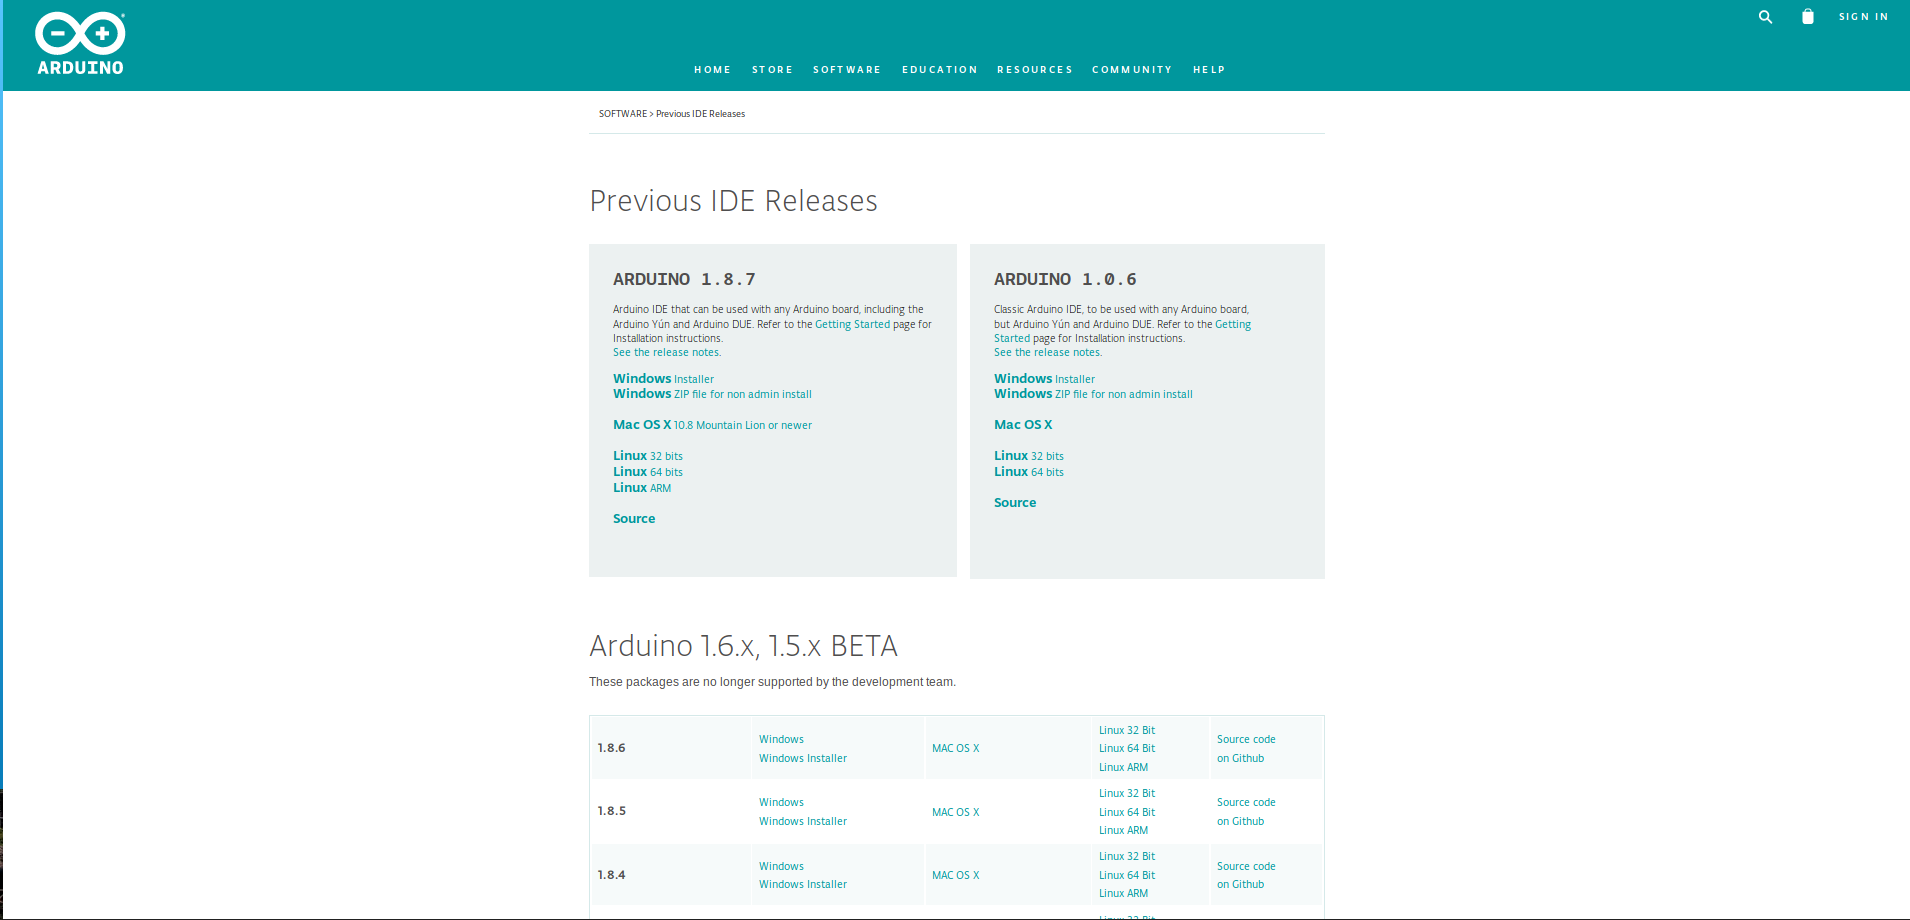
The senseBox is a micro controller with various components and sensors. It is programmed via the development environment Arduino IDE. Download the version 1.8.7 as a zip file from the Arduino homepage:

Arduino is an open source project funded by donations. Therefore you will be asked for a donation before downloading; You can skip that by clicking JUST DOWNLOAD.

Put a new folder on your hard drive and unzip the zip-file. By starting the file arduino.exe the IDE can be started.
Download Arduino Software for Mac(OSX)
For a smooth process please use Arduino 1.8.7.
The senseBox is a micro controller with various components and sensors. It is programmed via the development environment Arduino IDE. Download the version 1.8.7 as a zip file from the Arduino homepage:

Arduino is an open source project funded by donations. Therefore you will be asked for a donation before downloading; You can skip that by clicking JUST DOWNLOAD.

An Arduino.app file should appear in your Downloads folder. Move this file to your "Applications" folder. By starting the file Arduino.app the IDE can be started.
Download Arduino Software for Linux
For a smooth process please use Arduino 1.8.7.
The senseBox is a micro controller with various components and sensors. It is programmed via the development environment Arduino IDE. Download the version 1.8.7 as a zip file from the Arduino homepage:

Arduino is an open source project funded by donations. Therefore you will be asked for a donation before downloading; You can skip that by clicking JUST DOWNLOAD.

Installation of the IDE under Linux
Linux users can download and unpack the Linux version. The included install.sh script automatically creates a desktop shortcut. The fastest way to do this is via terminal. Open the terminal by pressing the keysCtrl + Alt + Tand enter the following commands:
# If the downloaded file is not saved in the Downloads folder, replace "Downloads" with the path to the appropriate folder
cd downloads
# Unpack the file with the following command and install Arduino
tar -xvf arduino-1.8.7-linux64.tar.xz
cd arduino-1.8.7
./install.shTo program the Arduino, additional rights are required under Ubuntu 14 & 16. These can be set up for the current user with the following commands (needs admin rights):
Run udevadm monitor --udev and connect the Arduino via USB to determine the Device ID. The specified name at the end of the output (eg ttyUSB0) is the device ID. Exit udevadm by ctrl+Cand execute the following commands, using the device id found:
sudo usermod -a -G dialout $(whoami)
sudo chmod a+rw /dev/<device-id>
After a logout and login again, the Arduino from the Arduino IDE should be programmable!