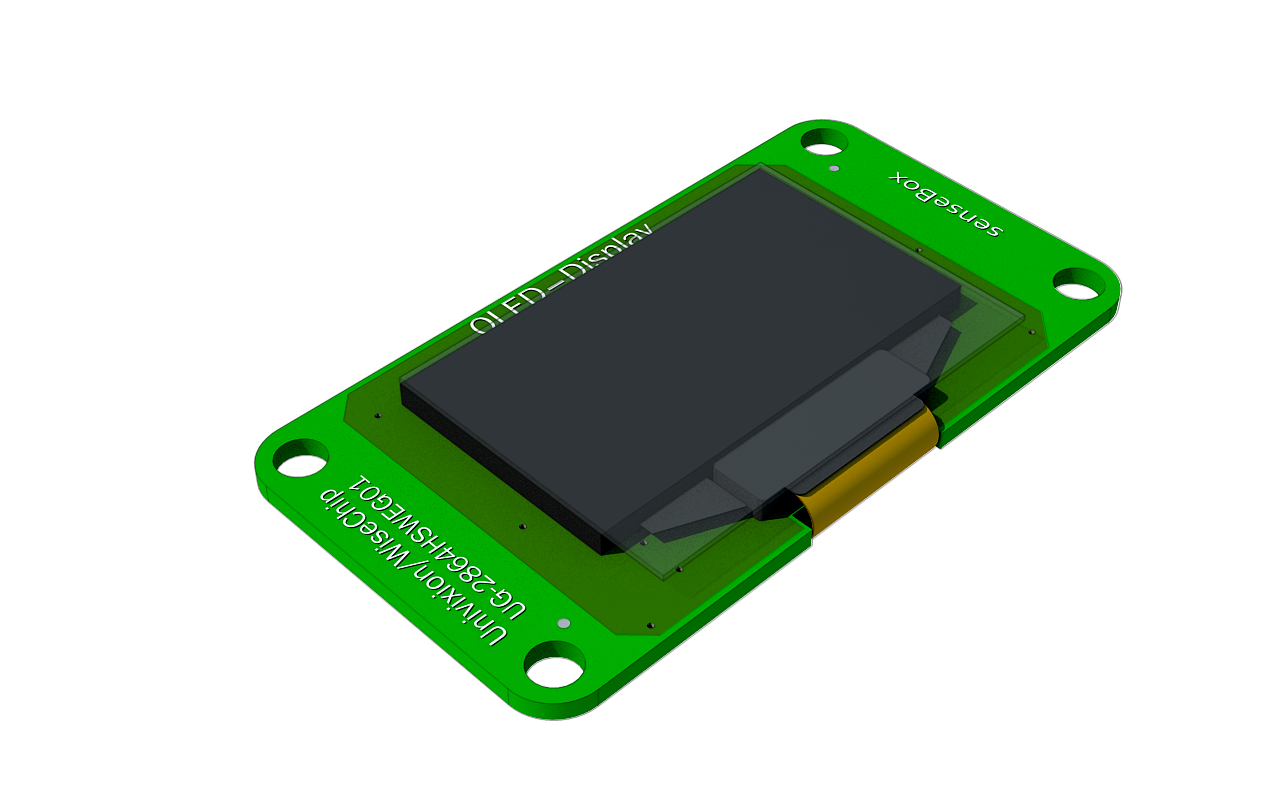
LED-Display

Technical Details
- Number of Pixels: 128 × 64
- Panel Size: 26.70 × 19.26 × 1.45 (mm)
- Active Area: 21.744 × 10.864 (mm)
- Pixel Pitch: 0.17 × 0.17 (mm)
- Pixel Size: 0.154 × 0.154 (mm)
- Wieght: 1.54 (g)
Technical Accessories
- JST to JST Cable(300mm)
Connection and Programming
With the JST to JST cable included in your senseBox you can connect the display to an I²C port of your senseBox MCU. Once this is done we can now initialize the display in the program code and show our measured values live on the display!
Initially some new libraries have to be loaded to make the display work.
    #include <SPI.h>
    #include <Wire.h>
    #include <Adafruit_GFX.h>
    #include <Adafruit_SSD1306.h>
    #include <senseBoxIO.h>
    #include "SenseBoxMCU.h"
If this happens, we now declare our variables for the display.
    #define OLED_RESET 4
    Adafruit_SSD1306 display(OLED_RESET);
The setup() Function
setup() function is used to start the display.void setup(){
senseBoxIO.powerI2C(true);
delay(2000);
display.begin(SSD1306_SWITCHCAPVCC, 0x3D);
display.display();
delay(100);
display.clearDisplay();
}
In the loop() Function
loop()-function now the text color, font size and value which the display should show is output.void loop(){
display.setCursor(0,0);
display.setTextSize(1); // Change font size here
display.setTextColor(WHITE,BLACK); // Verändere Schriftfarbe hier
/* Specify here what your display should show!
Here you can also display the results of your measurements. */
display.println("senseBox rocks!");
display.display();
}