Step 3: Pin and Wiring
Pin of Bees
The pin of the bees is very simple. The plug-in system makes it possible to just plug the bee on to the microcontroller. You have to consider only two things: 1. The orientation on the board and 2. the correct portpin on the microcontroller.
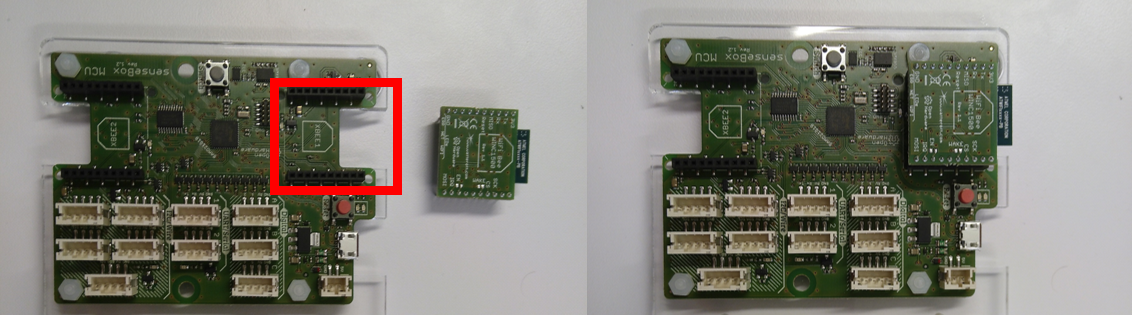
WiFi-Bee, Ethernet-Bee and LoRa-Bee
These bees all have to be plugged in port 1. You can identify the correct port by the marking: XBEE1. The 7-angled sign on the board and the bee shows you the correct plug-in direction.
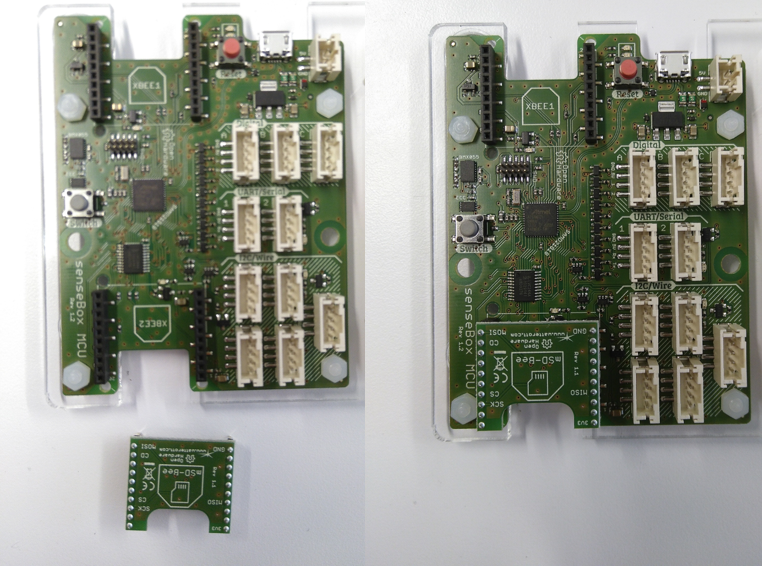
mSD-Bee
The SD-bee has to be plugged on to port 2, which is by default activated. The marking: XBEE2 shows you the correct port and the 7-angled sign the correct direction of the pin.
Pin of the Basic Sensors
The sensor, which can be bought with the senseBox are easy to connect with the enclosed "I2C to I2C" wires. Please use the slots that are marked with I2C/Wire.

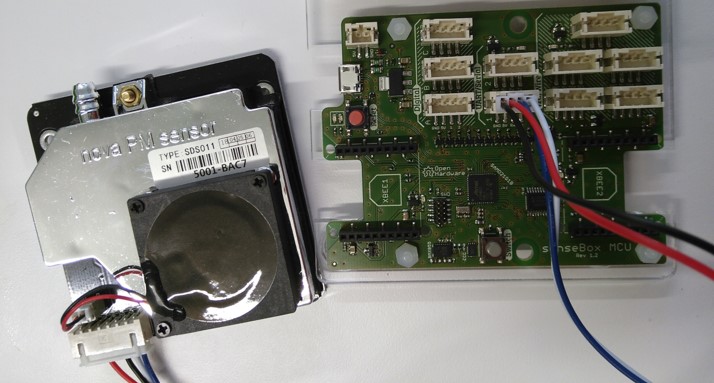
Pin of the Fine Dust Sensor
The fine dust sensor, which can be bought with the senseBox has an enclosed and fitting wire that connects sensor and board. Therefore you have to use the slots with the marking: UART/Serial. Here you can find further information to the pin of the fine dust sensor.