Step 6: Registration on the openSenseMap
The openSenseMap is a project to file, compare and visualize sensor data. Take a look at it by clicking on www.opensensemap.org and discover a vast data pool of sensor data from around the world. Not only senseBoxes send data to the openSenseMap but also other microcontroller with sensors. You can here see how the individual functions of openSenseMap and their interfaces work.What is the openSenseMap?
1. Useraccount Registration
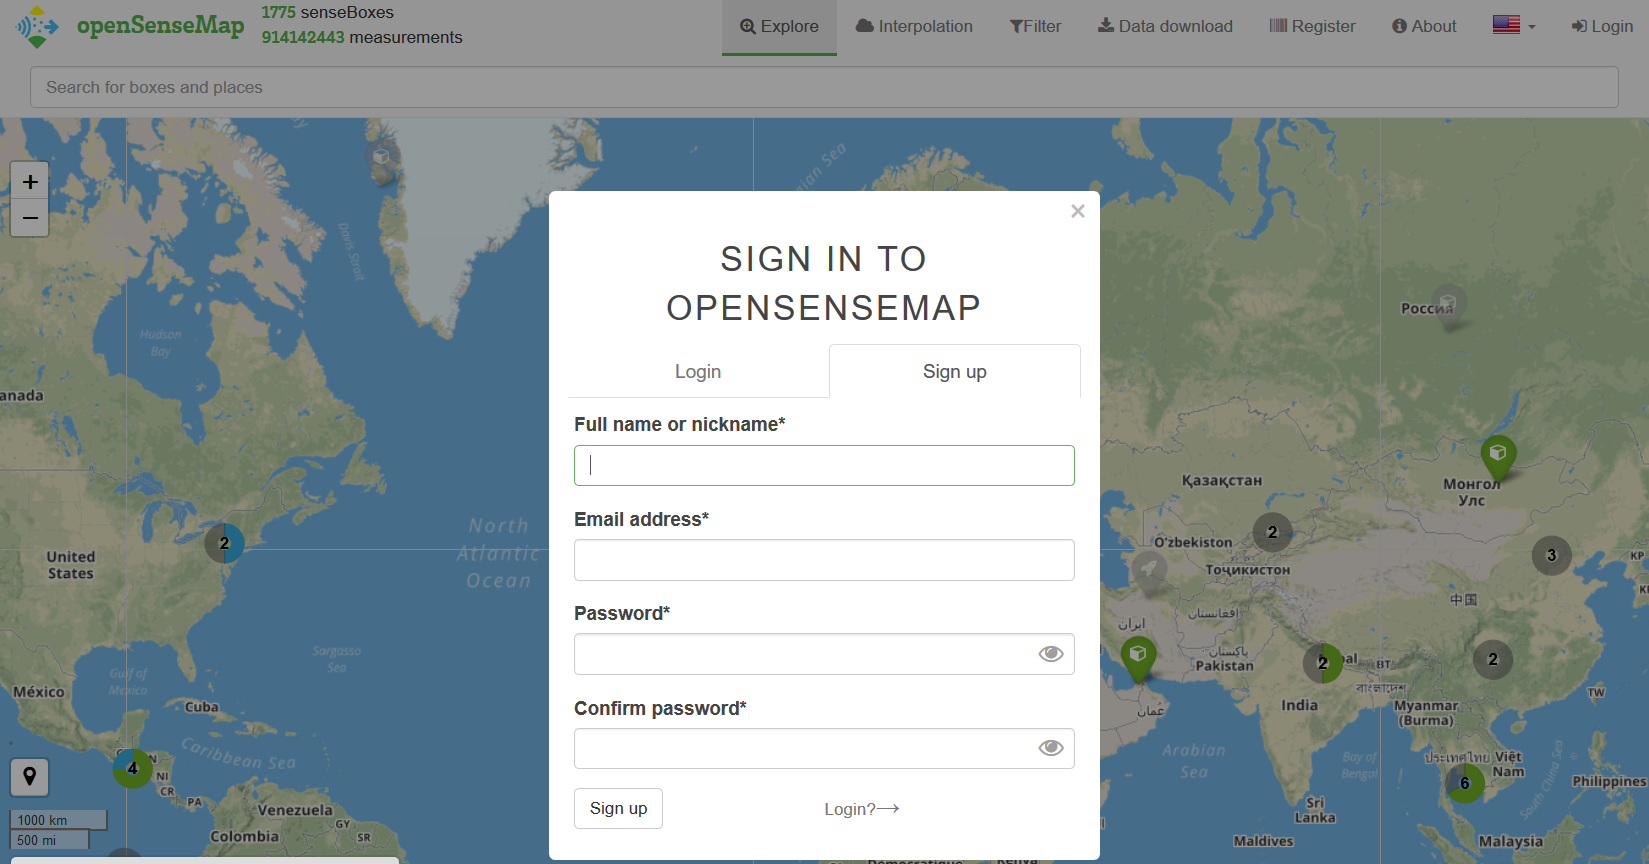
Please go to www.opensensemap.org and create an account. To do this, click on "Login" in the top right corner and then go to "Sign up". You need a valid e-mail address to register. After successful registration you will receive an e-mail with a confirmation link. Please click the link to complete the registration.
2. Set up a new sensBox
After successful registration you can start creating your senseBox. Click on "New senseBox / New senseBox" in your menu and confirm the terms of use. Follow the instructions of the registration and provide the following data:
- A freely selectable name of the senseBox
- The exposure, in which you want to set up your senseBox
- The location, where you want to set up your senseBox (you can also have your location determined automatically)
Since the openSenseMap is open to all types of senseBoxes, you will be asked about the used hardware. Select senseBox: home V2 and the bee you use (WiFi, or Ethernet)

Now you are almost done! Quickly select the sensors that you will connect to your senseBox. Just click and ready. If you want to install a fine dust sensor, you also have to specify which serial port you want to connect to. After that you can finish the process.
Here should be an explanationWhy do I have to connect a fine dust sensor to the serial-port?
3. Receiving a Summary of the Registration
Once you have completed the registration, you must once again agree to the publication of your data. After that you will receive a summary of your registration. There you will see your senseBox ID, your sensor IDs and the Arduino code (you will also receive it via e-mail)
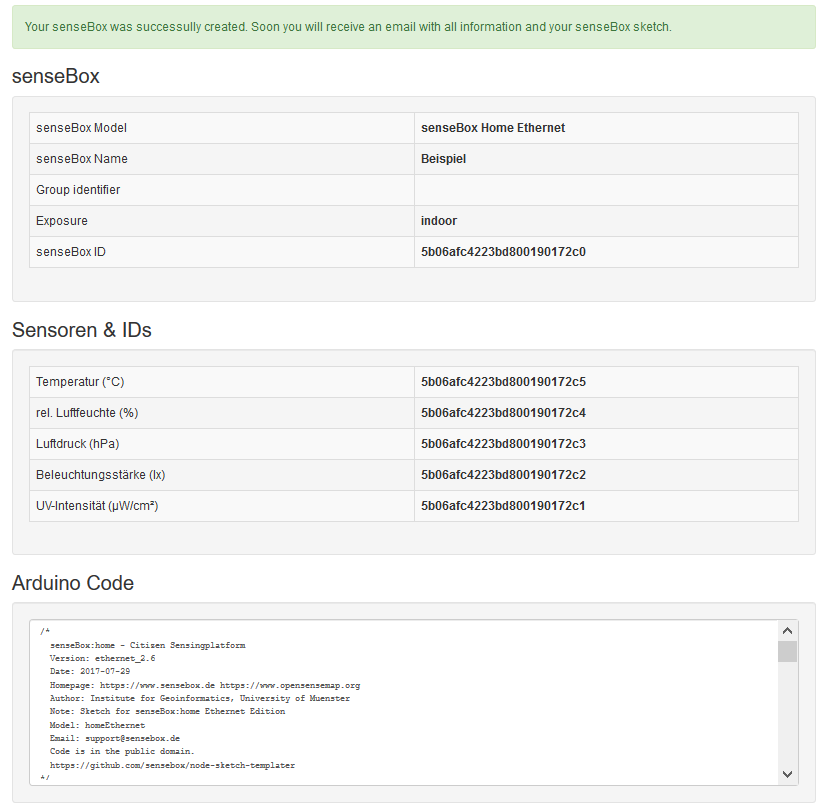
The senseBox ID is a unique identifier of your senseBox. With this ID you can find your senseBox for example with a URL on the opensenseMap (opensensemap.org/explore/HIER-DEINE-SENSEBOX-ID-EINGEBEN) or in a data pool. Furthermore, it is used for various applications and functions around the senseBox and the openSenseMap.What is my senseBox ID
Loading the Arduino-Code on the senseBox
After you have downloaded the .ino attachment of the e-mail you have to load this program on to your senseBox. Of course you have to download the Arduino IDE (as explained in step 1) on your computer. In short, you can then follow the following steps:
(opensensemap.org/explore/ENTER-YOUR-SENSEBOX-HERE)
WiFi-Bee
- Open Arduino application
- Select
Data→Openin the data bar and the choosesensebox.ino - The dialog field asks if you want to move the file. Confirm this with "Yes" or "Ok"
- Now you need to enter your WiFi network and password for the network between the
"". Please mind to not have any spaces between the"and the letters of your password. - Now you can load the program via the arrow icon on the microcontroller.
- Wait until the program has been transferred
Ethernet-Bee
- Open Arduino application
- Select
Data→Openin the data bar and the choosesensebox.ino - The dialog field asks if you want to move the file. Confirm this with "Yes" or "Ok"
- Now you need to enter your WiFi network and password for the network between the
"". Please mind to not have any spaces between the"and the letters of your password. - Now you can load the program via the arrow icon on the microcontroller.
- Wait until the program has been transferred
LoRa-Bee
Unfortunately we have not been able to write a tutorial for the LoRa-Bee yet. If you would like to help us, please send us an e-mail to info@sensebox.de
If everything went right, you can now select your station on the openSenseMap and watch how measurements are transmitted continuously!